|
|  | |
| Search |
|
|
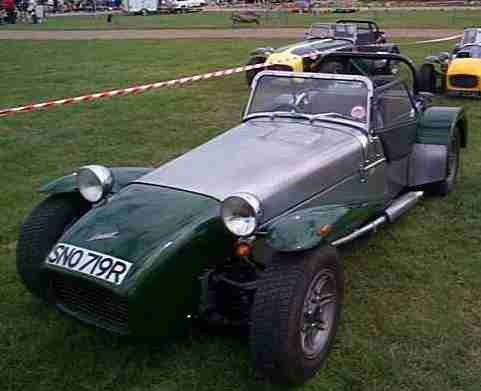
SNO 719R - Build report by Peter Wannop
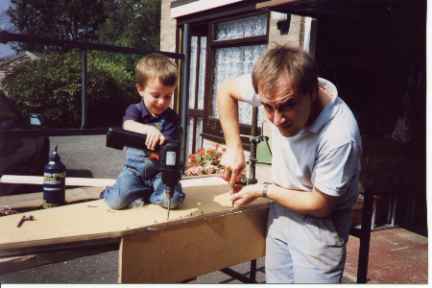
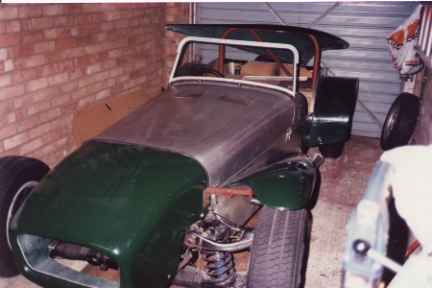
I bought a set of plans and the build manual for £ 45 and with the aid of my son I started to build the wooden body tub. I used 3/4 inch marine ply. The joints were glued, screwed and reinforced where necessary with 1 inch aluminium angle. The only change I made from the instructions was an aluminium propshaft tunnel top.
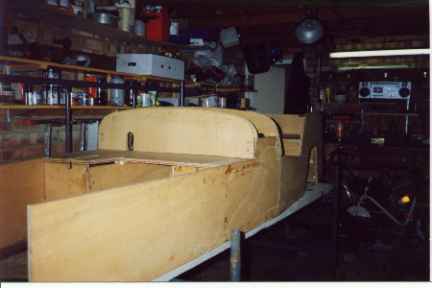
The completed body was then put to one side after painting all the underside with black rubberised roofing paint purchased from B&Q. (This was also used on the underside of the fibreglass wings to protect from stone chips). By this time I had prepared all the running gear and placed an order for the chassis. I also bought all the fibreglass, a windscreen and mounts, pedal box, rear axle kit, petrol tank, roll over bar, and a spare wheel carrier.
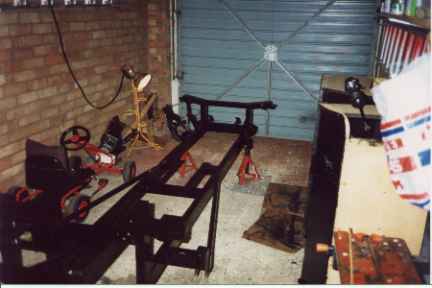
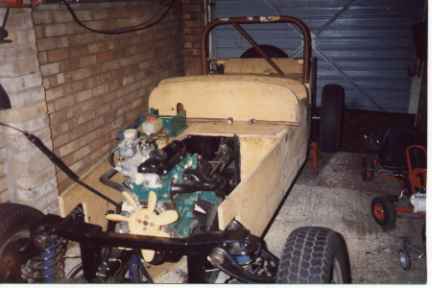
On receipt of the chassis it was given a coat of black smoothrite paint.
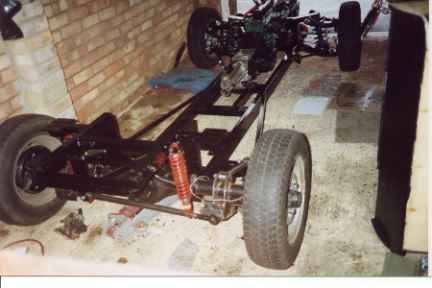
After welding the 'axle clamps' to the rear axle the running gear was then fitted to the chassis. The steering rack had to be lengthened on one side.
After fitting the petrol tank the rear luggage compartment floor was removed and the roll over bar bolted directly to the chassis. The luggage compartment floor was split into two pieces and refitted. The gear leaver extension was made as described in the build manual using an old gear lever remote mounted in the tunnel. The pedal box was then given a trial fit for location before the tub was skinned.
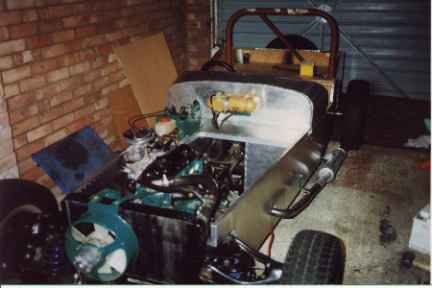
The body tub was skinned in aluminium and the radiator (Skoda Estelle), exhaust (Volvo), and pedals were fitted. The pedal box was a good buy as the pedals fitted without any major modifications. The Skoda radiator was chosen as it was the correct dimensions, had an electrical fan as standard, and I assumed that as it was normally fitted to a rear engined car it should be able to keep a Locust cool. The hydraulic brakes lines were fitted using a non-servo master cylinder from a Fiesta. All rubber brake hoses were replaced with Aeroquip stainless steel braded hoses.
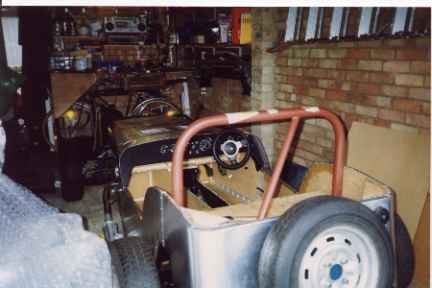
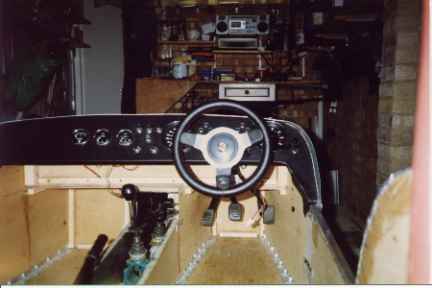
The steering column was then fitted I used a combination of Austin Allegro and Morris Marina column extensions to join the Escort column to the rack. This involved no welding of the column. The dashboard was fitted with a combination of Smiths gauges from a Triumph Dolomite and a Mini. A windscreen wiper system from a Mini was also fitted. The dashboard cowl and bonnet were then made from aluminium sheet and fitted. The bonnet curves were courtesy of the GPO (Telegraph pole at the end of my drive).
It was then time to fit the electrics. This was the task I had been dreading. The loom from the Escort was used with extra earth leads spliced in as required. The major modification was in the area of the instruments as they were now all individual items and they were not from the Escort. It wasn't as bad as I had feared. I even managed to get the windscreen wipers to park correctly. I also fitted a self cancelling indicator switch from a Renault 5.
Following the major electrics and to allow for the remaining lights the fibreglass body items were fitted. Around this time I made an appointment for the car to be inspected a nice man from the registration office turned up as arranged, had a 10 minute look at the car. He checked the engine number and chassis number it was at this time that I broached the question of retaining the donor car registration number. He said there was no problem I could retain the original number I was delighted.
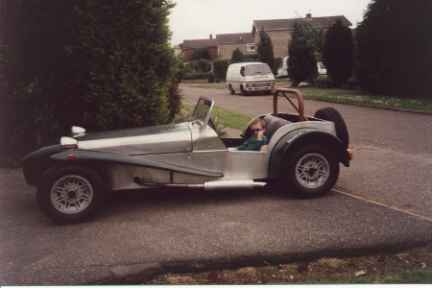
I obtained 5 alloy wheels from a Ford Capri and after fitting the windscreen, seats etc. it was ready for a test drive (illegally up and down our cul-de-sac). It had taken around 10 months to complete. I arranged for an MOT at a garage in the next village and on the day I took a very long route to the test station as this was the cars first real drive. I was extremely pleased with the way the car handled and was surprised on how comfortable the ride was. My MOT test was the first after lunch so I didn't have to wait long. I had to assist the guy doing the MOT as he couldn't fit in the car. The test went smoothly and there was no problem. I got my certificate all I had to do now was to take it to the licensing office to get my road tax and then I would be fully legal.
Peter Wannop
| ||||||||
|
|
||